Spending more time at home has sparked an avalanche of DIYers, reignited those previously too busy to indulge and birthed an entire new group of creators! Home renovating, gardening, crafting and sewing are enjoying a surge in popularity. I will freely admit that my dog and my sewing room are my sanity savers like never before. My husband of 36 years finally understands what I have been preparing for our entire marriage! At least that is what I told him last March when our first round of lockdowns hit. The most distressing part for me was the closing of sewing and crafting stores as they were declared nonessential. Well nobody consulted me about what is essential!
So here we are planted firmly in a place in time where our typical entertainment venues are not available to us. But I see countless Facebook groups committed to every aspect of sewing and crafting erupting on the platform. I have to admit I was inspired and found a connection to a large sewing community online. I have formed friendships across Canada and the US through these groups.
The good news is we are adaptable creatures. The virtual world we live in now affords us opportunities that would have been far more challenging even 10 years ago. But here is where technology shines. Today we can meet through platforms like Zoom and Google Hangouts and carry on laughing and learning together. To that end Red Deer Sewing Centre is introducing online learning opportunities for sewists, machine embroiderers and soon quilters! I encourage you to check out the calendar for classes starting this month. As more instructors become available we will add more classes to the schedule.
I know many of you have tackled new skills and watched numerous videos over the past months. While our classes will be virtual, you will have an instructor working with every class to demonstrate skills and check in with you on your progress and answer your questions.
But in the meantime here is a project to try which is great for beginners and experienced sewists!
A Little Something for You!
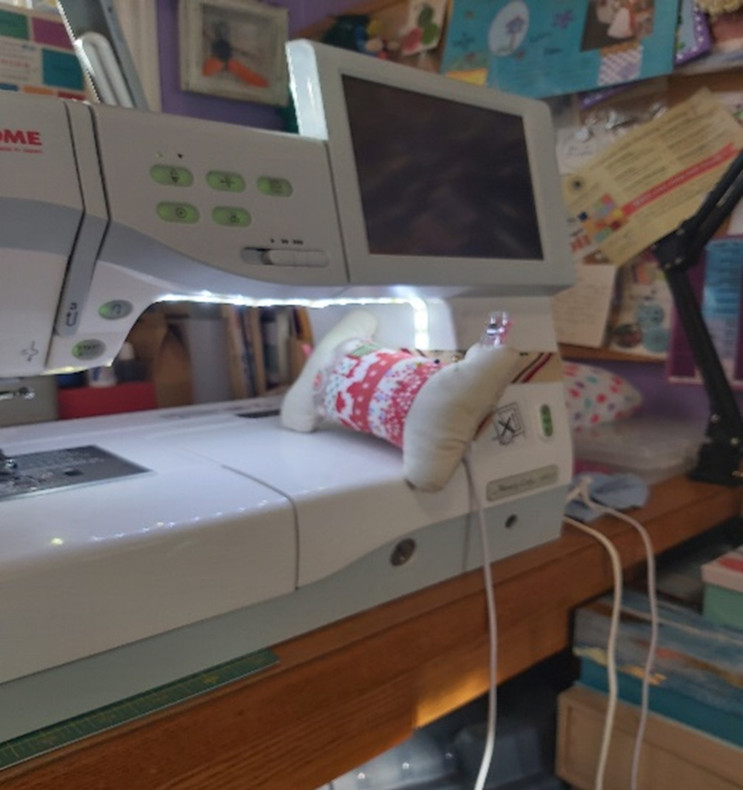
A Scrappy Pincushion for your Sewing Machine
Supplies:
- 6- 1”x 8” strips of cotton print,
- 4- 2” x 5” strips for spool ends
- 1 piece of cotton print 2-3” wide x length to wrap around body or head of your machine
- Small piece of Velcro
- Coordinating thread
- Stuffing of your choice (I buy $5.00 pillows from Super Store to use for stuffing)
Directions: all seams ¼”
1. Sew the 6 strips together, press (I press seam allowances open for this project)


2. Cut the rectangle in half creating 2-4 inch pieces

3. Center 1 spool piece on each end of 4 inch piece and stitch
4. Using a large spool, trace, to create curved edges
5. Stitch a piece of Velcro to right side of one spool (this will become the back of your pin cushion)


6. With the long strap piece stitch right sides together
7. Turn right side out and press
8. Fold in end – topstitch the other piece of Velcro to this end
9. Stitch raw edge of strap to the opposite end of spool with Velcro stitched to it
10. Stitch across strap several times

11. Carefully pin both of your spools together and stitch leaving 1 end open for stuffing
12. Trim corners, clip as needed
13. Turn pin cushion right sides out

14. Stuff with your fill of choice
15. Hand sew opening closed
16. Strap onto your machine and use!


